I remember the first time I tried making this treat and I thought it would be simple and quick and I ended up spilling half the dates on the counter and laughing at myself and thinking maybe baking was not for me but somehow it all came together and the kids were all over it and sticky fingers and chocolatey hands everywhere and I had to chase them around before they ruined the sofa.
Sometimes I mix the oats too fast and some fly out of the bowl and land on the floor and the dog thinks he’s getting a treat and I sigh and clean it up and then try again and that’s when I learned to slow down and pay attention to every little step because the texture changes if you rush it and you want it chewy and soft not dry and crumbly.
I love the smell when I stir the almond butter and honey into the dates and it makes the whole kitchen smell warm and sweet and it reminds me of holidays and birthday parties and I sometimes sneak a little bite and taste the sweetness and think about how lucky I am to have these simple moments and messy hands in the kitchen with everyone laughing.
Sometimes my kids try to “help” and they dump a little too much cocoa powder or knock over the measuring cups and it makes a mess and I try not to get frustrated and just laugh and scoop it all back in and let them keep stirring because it’s their creation too and they feel proud and I feel proud too and it’s these tiny mistakes that make it real and fun.
I like to eat this treat with other snacks like fresh berries and a cup of warm milk or chocolate toffee crunch bars and a slice of banana bread and a little scoop of ice cream and some crunchy granola clusters and a few slices of apple and peanut butter sandwiches and I’ve already tried each combination and they all taste delicious and it’s fun to mix and match and see what everyone likes best and sometimes we end up with crazy combinations that somehow work and make everyone laugh.
I always keep a little stash in the fridge for emergencies and sometimes I forget and the kids find it first and they sneak a piece before dinner and I shake my head and laugh and then we all share the next batch and it never lasts long and the sticky sweet chocolatey bites are gone in a flash and I think that’s why I love making it so much because it brings everyone together and makes ordinary days a little sweeter.
Ingredients
- Dates
- Oats
- Cocoa powder
- Almond butter
- Honey
- Vanilla extract
- Salt
Ingredients notes
- Dates soft and sweet and make the brownies sticky
- Oats give the brownies a chewy texture and keep them healthy
- Cocoa powder makes the brownies chocolatey and yummy
- Almond butter makes the brownies creamy and adds flavor
- Honey makes everything sweet and helps the brownies stick together
- Vanilla extract gives a nice smell and a little extra sweetness
- Salt balances the flavors and makes chocolate taste better
How to make date brownies no bake ?
Step 1: prepare the pan and ingredients.
Line a small pan with parchment paper and make sure it fits the mixture perfectly and grab all the ingredients and have them ready and measured because it makes everything easier.
Step 2: pit and blend the dates.
Take the dates and remove the pits and put them in a blender and blend them until they form a sticky paste and make sure there are no big chunks left because it will help the brownies hold together.
Step 3: mix the dry ingredients.
In a large bowl add oats and cocoa powder and salt and stir them together with a spoon until everything is evenly mixed and this makes sure every bite has chocolate and oat.
Step 4: add the wet ingredients.
Add almond butter honey and vanilla extract to the date paste and mix everything well and keep stirring until the mixture looks smooth and shiny because this makes it easy to combine with the dry ingredients.
Step 5: combine wet and dry ingredients.
Pour the wet mixture into the bowl with dry ingredients and use a spatula to mix them together until there are no dry spots and the mixture looks like thick sticky dough because this is how it will hold together.
Step 6: press the mixture into the pan.
Take the mixture and put it into the lined pan and use your hands or spatula to press it down evenly and make sure it is compact and flat because this makes cutting the brownies easier later.
Step 7: chill the brownies.
Put the pan in the fridge and let it chill for at least two hours and this makes the brownies firm and easy to slice and also makes the flavors taste better.
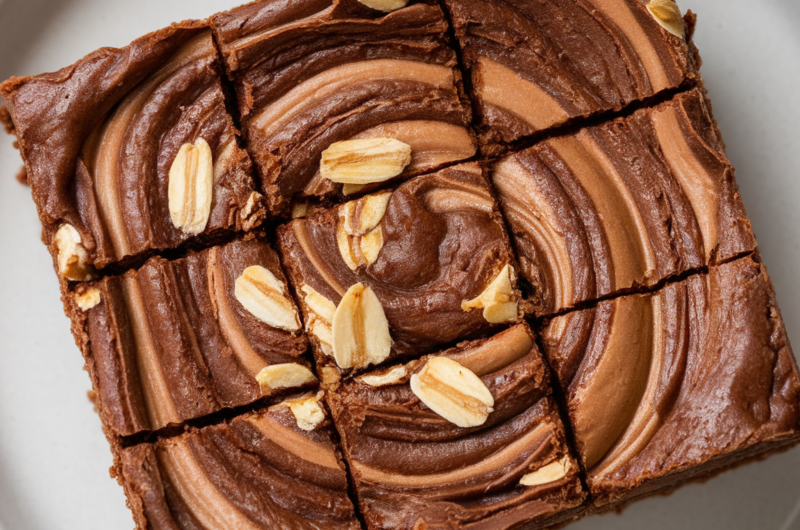
Step 8: slice and serve.
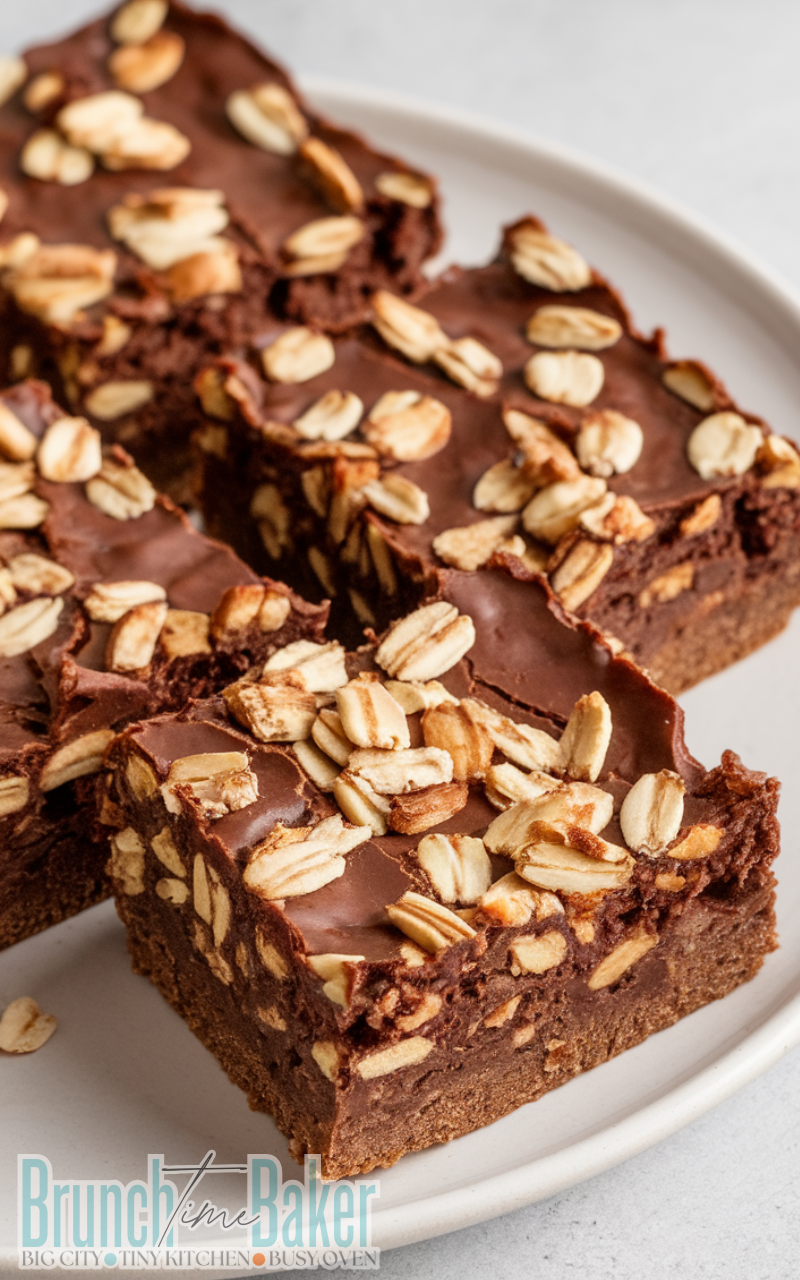
Take the pan out of the fridge and lift the brownies using the parchment paper and cut them into squares with a sharp knife and serve them as a snack or dessert and watch how everyone enjoys them because they are naturally sweet and chewy.
Kitchen equipment needed
- Blender
- Mixing bowls
- Spoon or spatula
- Small pan
- Parchment paper
- Knife
- Measuring cups and spoons
Storage options
Keep the brownies in an airtight container in the fridge for up to five days or freeze them for up to a month and let them thaw before eating because this keeps them fresh and chewy.
Variations
You can add chopped nuts like walnuts or almonds for extra crunch or mix in chocolate chips for more chocolate flavor or roll the brownies in shredded coconut for a fun twist or add a pinch of cinnamon for a warm flavor because each variation makes them exciting.
FAQs
What is date brownies made of?
Date brownies are made of soft dates oats cocoa powder almond butter honey vanilla extract and a little salt and these ingredients come together to make a sweet and chewy treat.
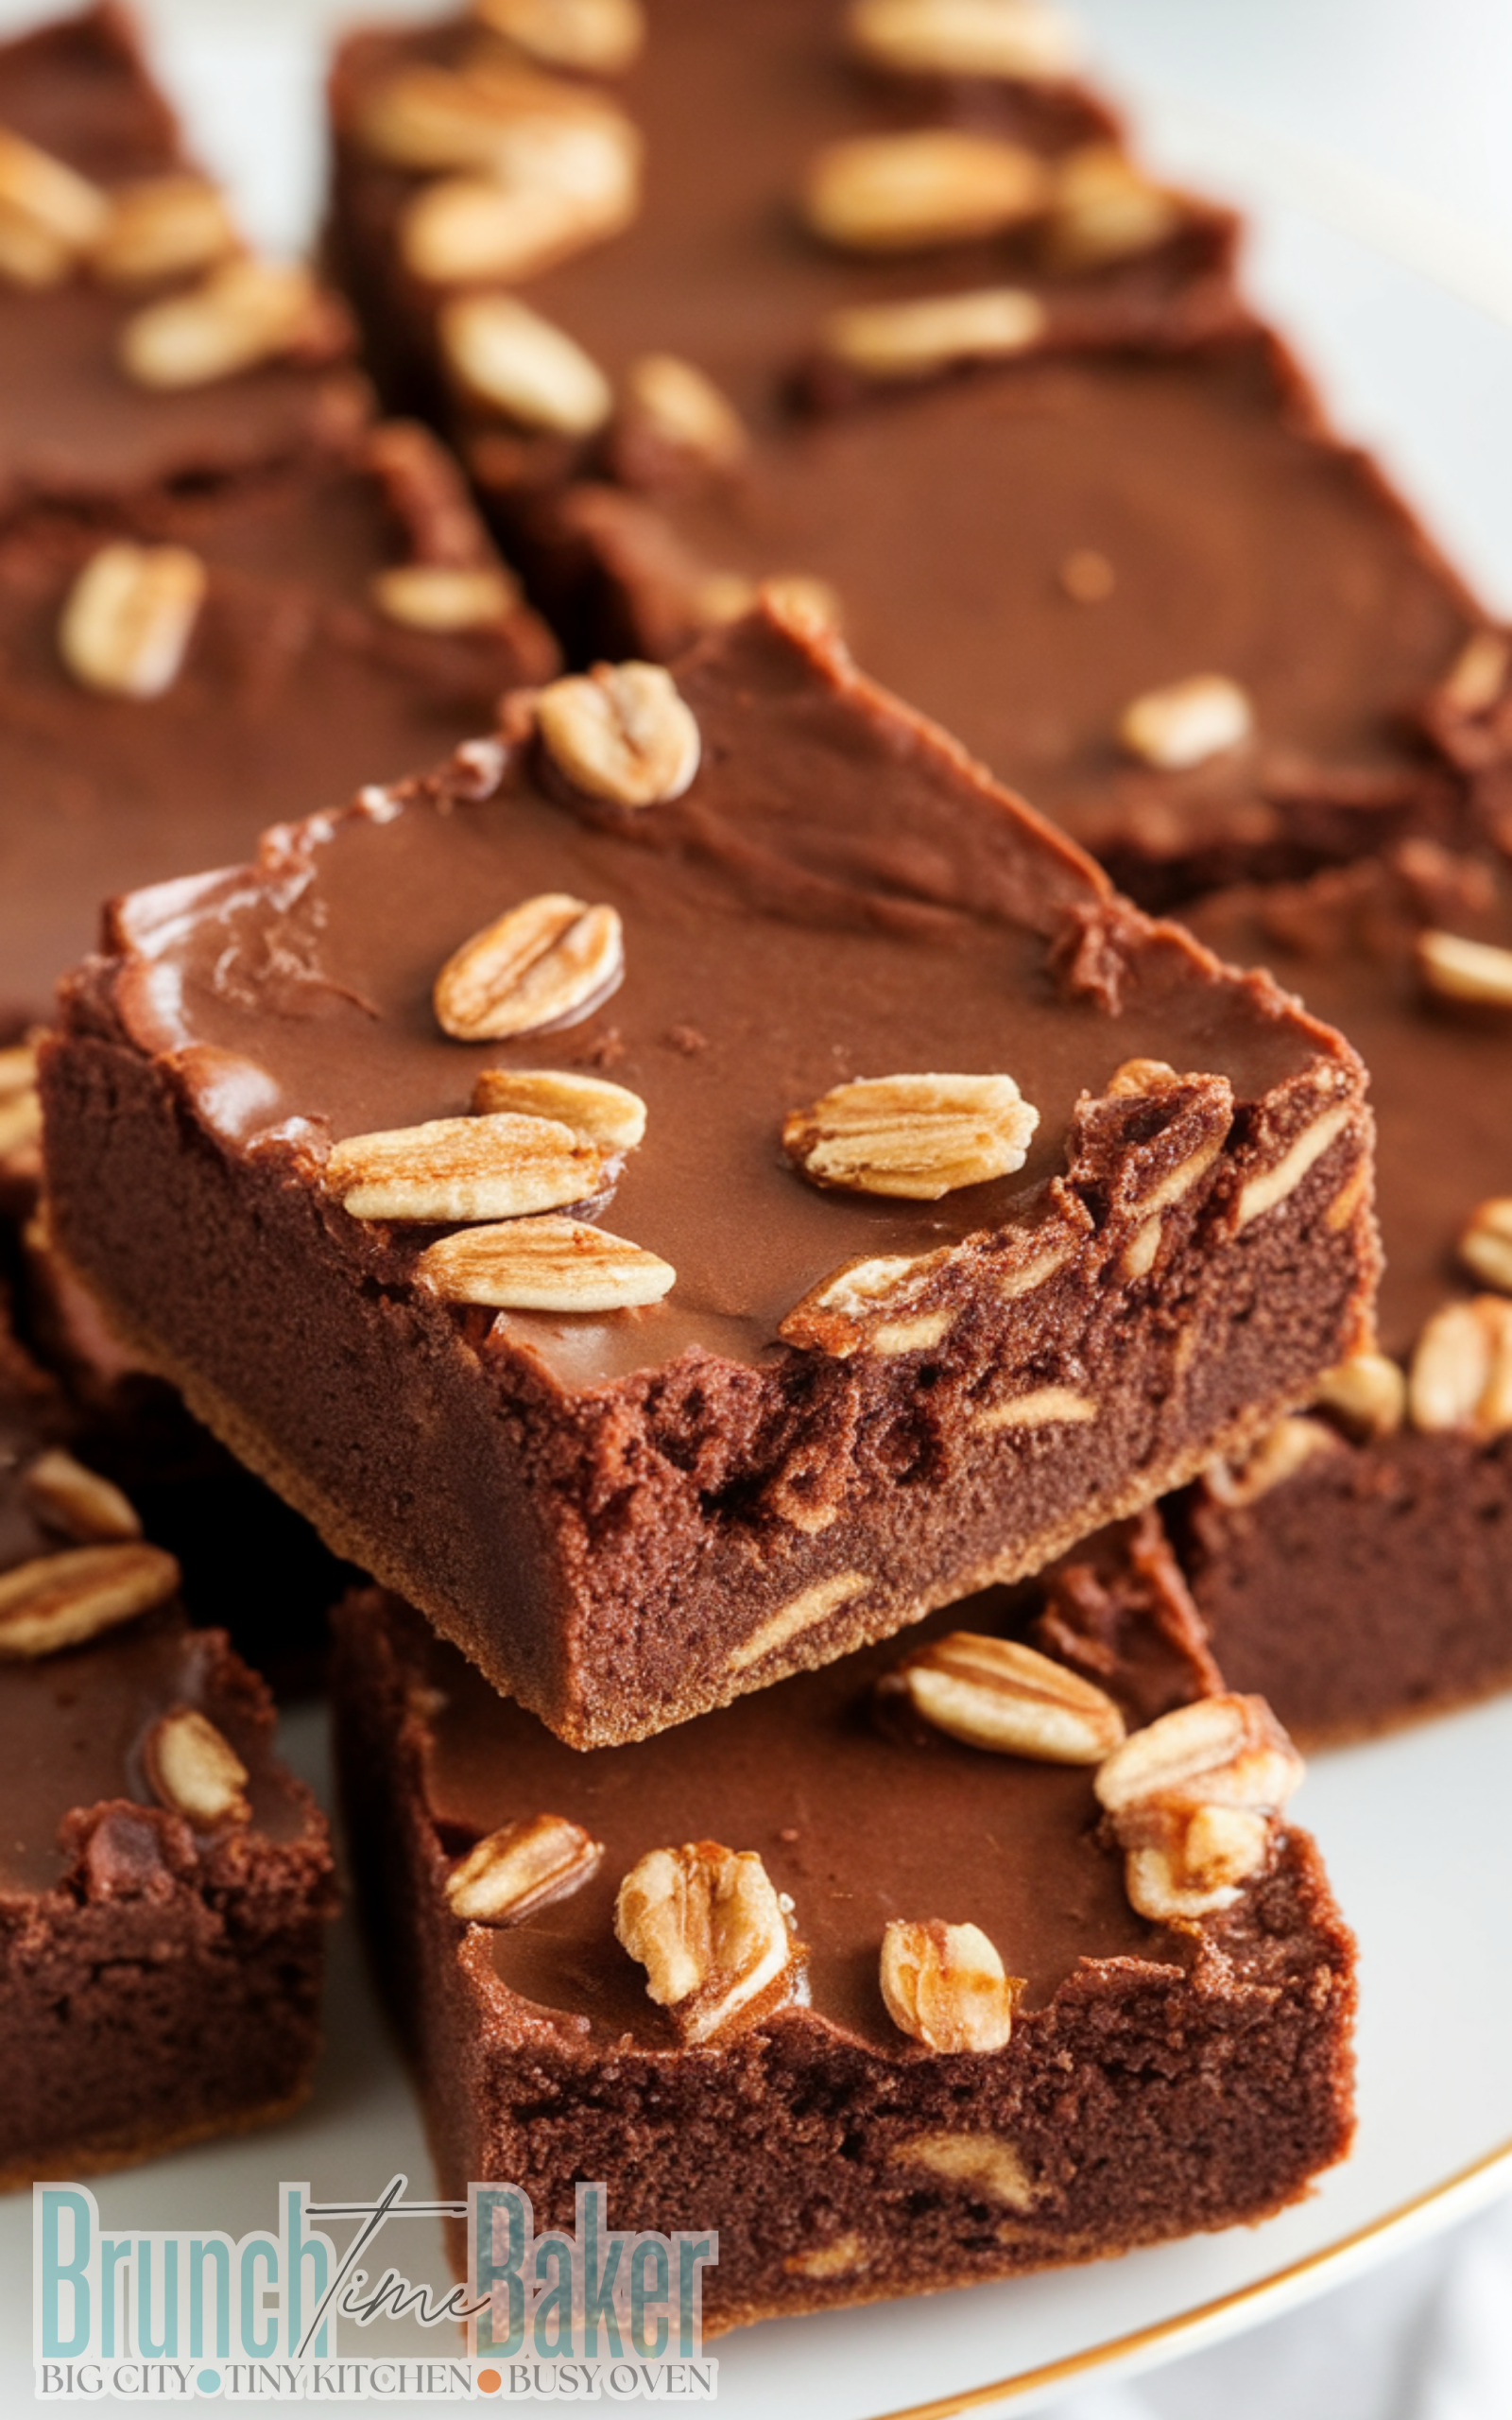
What does date brownies taste like?
Date brownies taste naturally sweet and chocolatey and they are chewy and a little nutty because of the almond butter and every bite is soft and satisfying.
Can I use peanut butter instead of almond butter?
Yes you can use peanut butter instead of almond butter and it will give the brownies a slightly different nutty flavor and still make them creamy and sticky.
Are date brownies gluten free?
Yes if you use gluten free oats then the date brownies are completely gluten free and safe for people with gluten intolerance and everyone can enjoy them.
Can I use maple syrup instead of honey?
Yes maple syrup can replace honey and it will add a little different sweetness and keep the brownies sticky and soft because it works the same way as honey.
How long do no bake brownies last?
No bake brownies last about five days in the fridge and up to a month in the freezer and storing them properly keeps them chewy and fresh.
Can I add chocolate chips to the recipe?
Yes adding chocolate chips is a great idea and it makes the brownies more chocolatey and fun to eat because the chips melt slightly and add gooey bites.
Are date brownies healthy?
Yes date brownies are healthier than regular brownies because they use natural sweeteners and oats and almond butter and they are still delicious and satisfying as a snack.
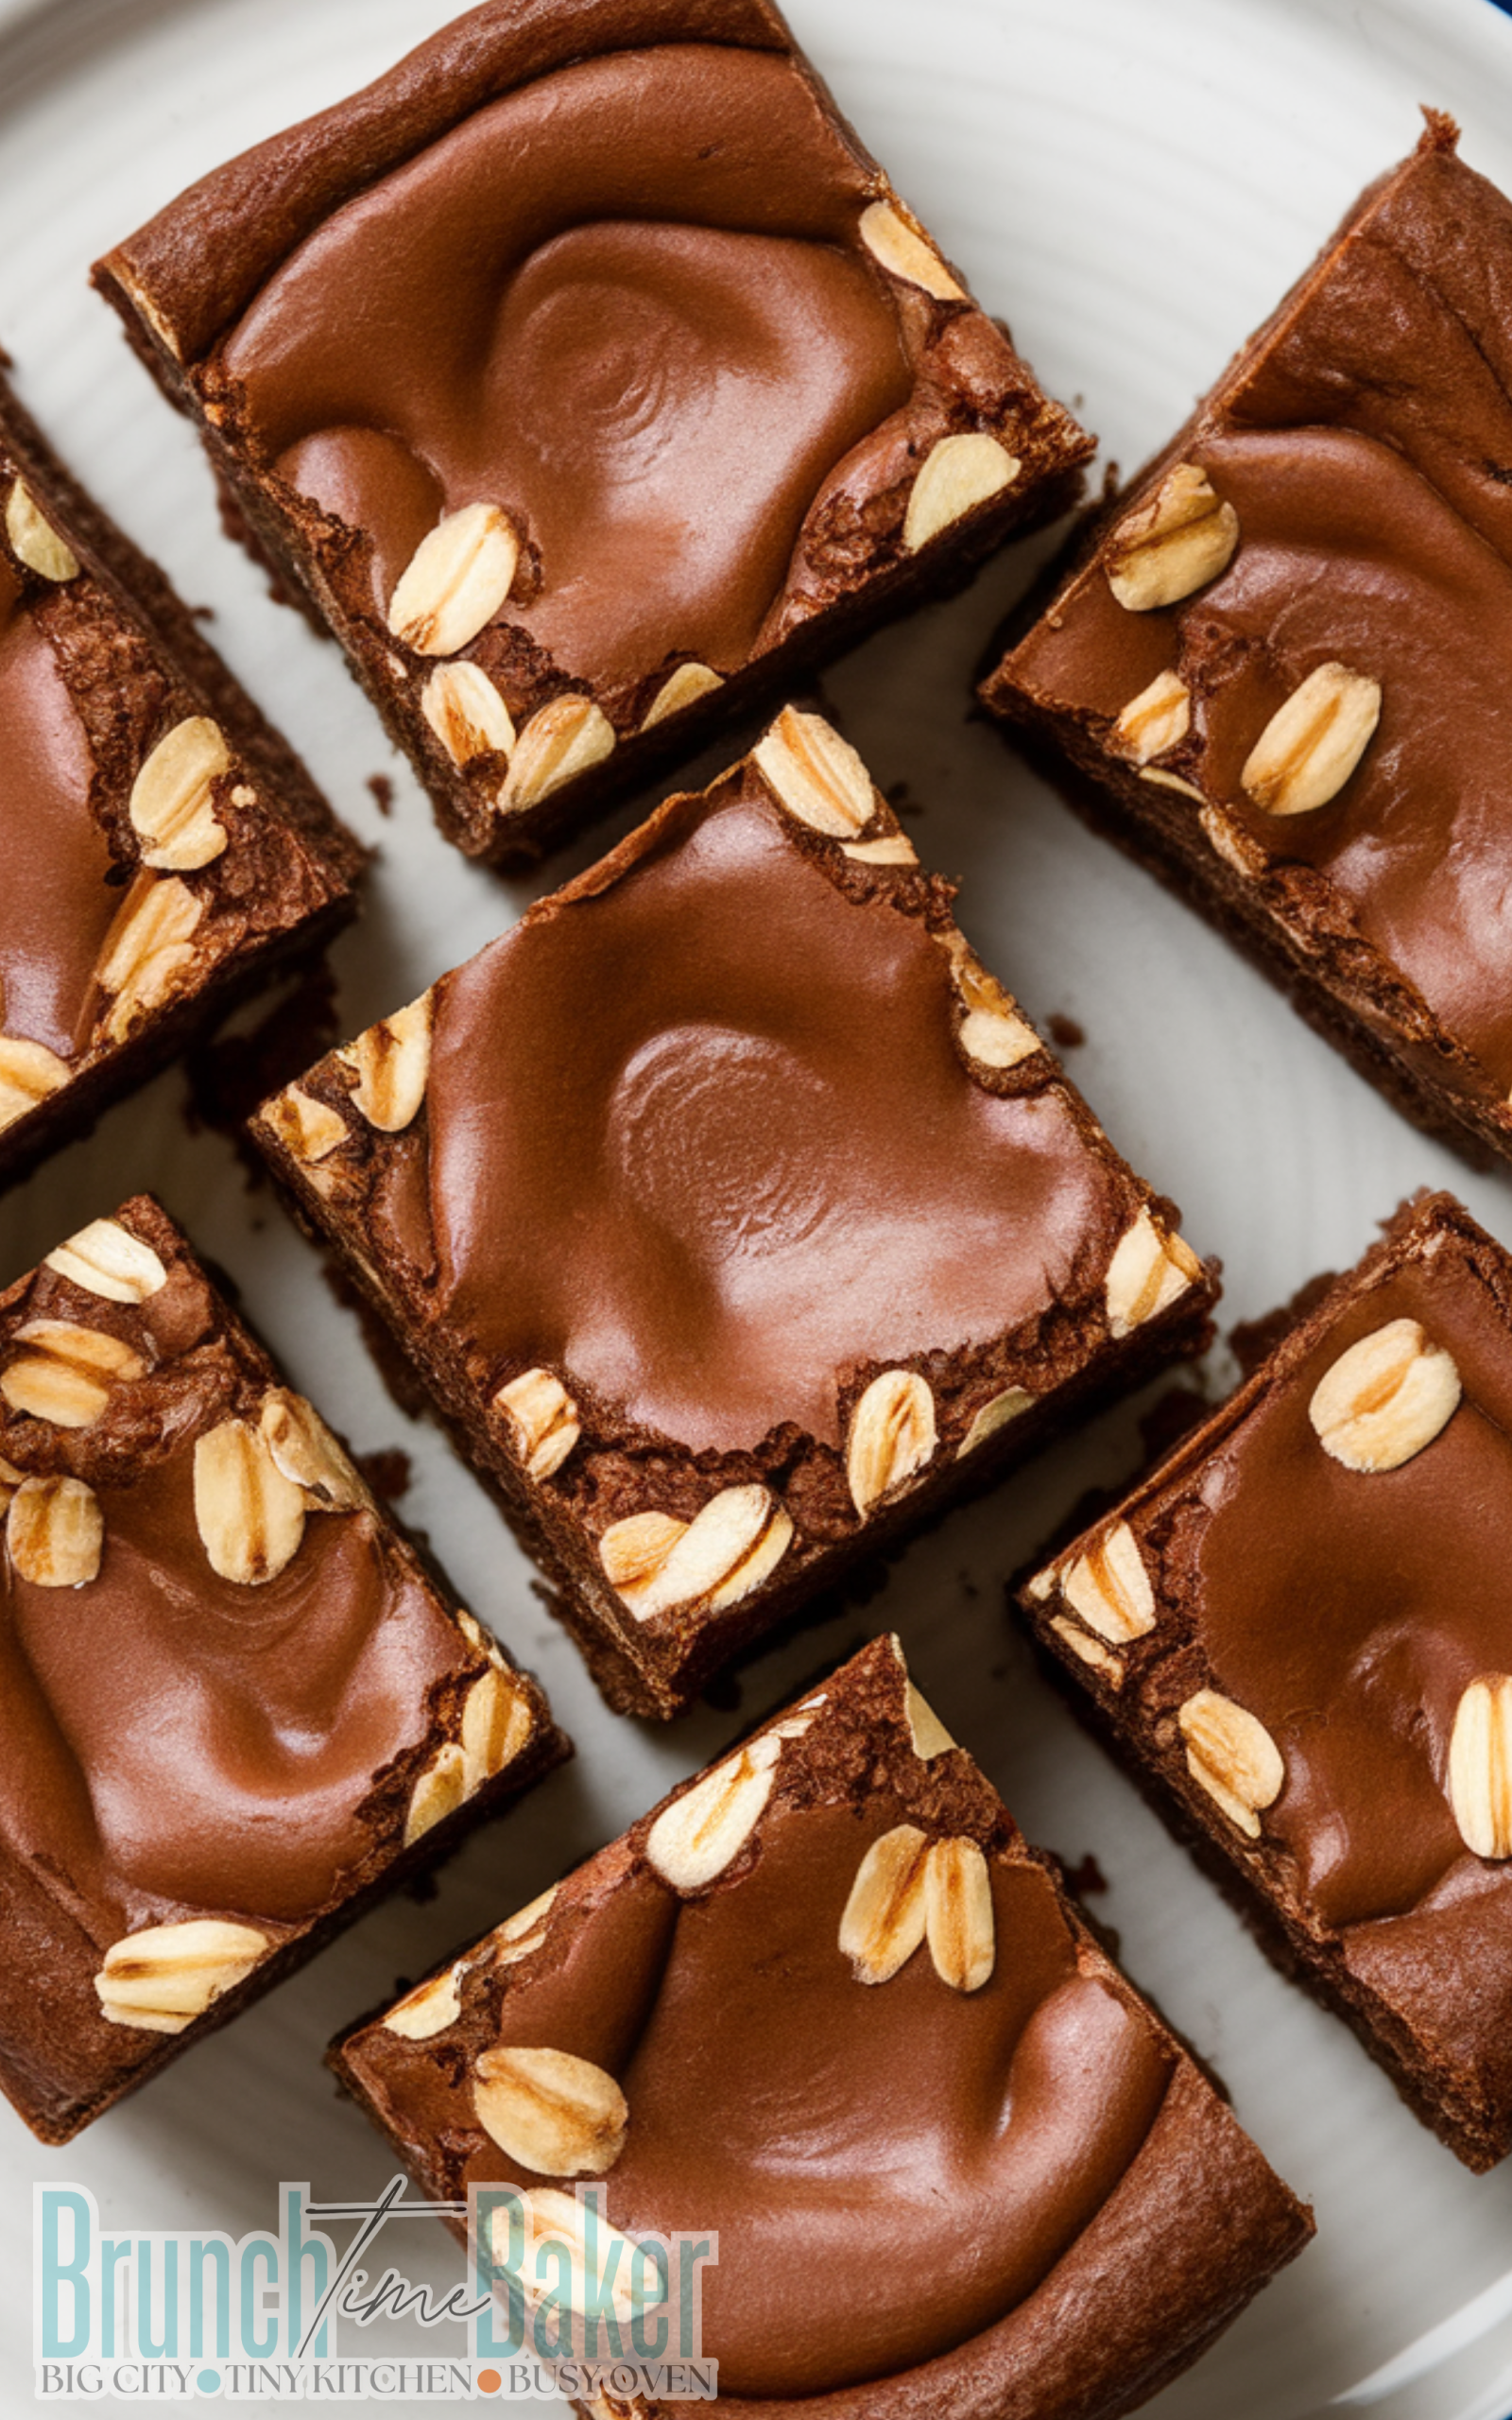
date brownies no bake
Course: DessertCuisine: AmericanDifficulty: Easy12
servings15
minutes180
kcal15
minutesEasy chewy no bake brownies made with dates oats and almond butter and naturally sweet and chocolatey.
Ingredients
Dates
Oats
Cocoa powder
Almond butter
Honey
Vanilla extract
Salt
Directions
- Line a small pan with parchment paper and make sure it fits the mixture perfectly and grab all the ingredients and have them ready and measured because it makes everything easier.
- Take the dates and remove the pits and put them in a blender and blend them until they form a sticky paste and make sure there are no big chunks left because it will help the brownies hold together.
- In a large bowl add oats and cocoa powder and salt and stir them together with a spoon until everything is evenly mixed and this makes sure every bite has chocolate and oat.
- Add almond butter honey and vanilla extract to the date paste and mix everything well and keep stirring until the mixture looks smooth and shiny because this makes it easy to combine with the dry ingredients.
- Pour the wet mixture into the bowl with dry ingredients and use a spatula to mix them together until there are no dry spots and the mixture looks like thick sticky dough because this is how it will hold together.
- Take the mixture and put it into the lined pan and use your hands or spatula to press it down evenly and make sure it is compact and flat because this makes cutting the brownies easier later.
- Put the pan in the fridge and let it chill for at least two hours and this makes the brownies firm and easy to slice and also makes the flavors taste better.
- Take the pan out of the fridge and lift the brownies using the parchment paper and cut them into squares with a sharp knife and serve them as a snack or dessert and watch how everyone enjoys them because they are naturally sweet and chewy.